Preface
Informer Server is a runtime for hosting any number of pre-defined or custom applications. Each mobile application has an associated Profile definition which must be imported and initialized to support the application.
This document provides step-by-step instructions for installation of an Informer profile. Individual custom apps or specific deployments might have additional steps, but this can be used a general guideline for any given application definition.
Requirements
Files needed for installation:
-
Informer profile definition .xml file
-
Informer command .jar
-
Application Configuration resource .json file (optional)
Importing Artifacts
Import Commands
-
Navigate to Informer Developer by going to
Administration > Informer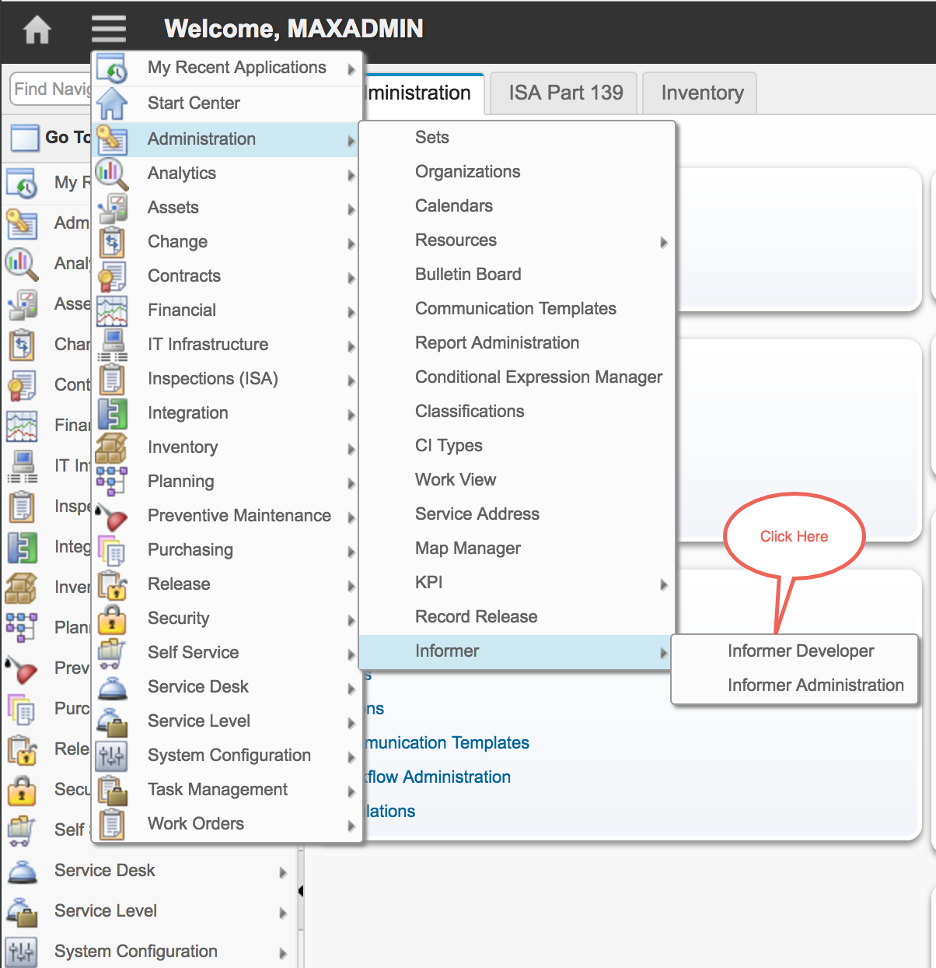
-
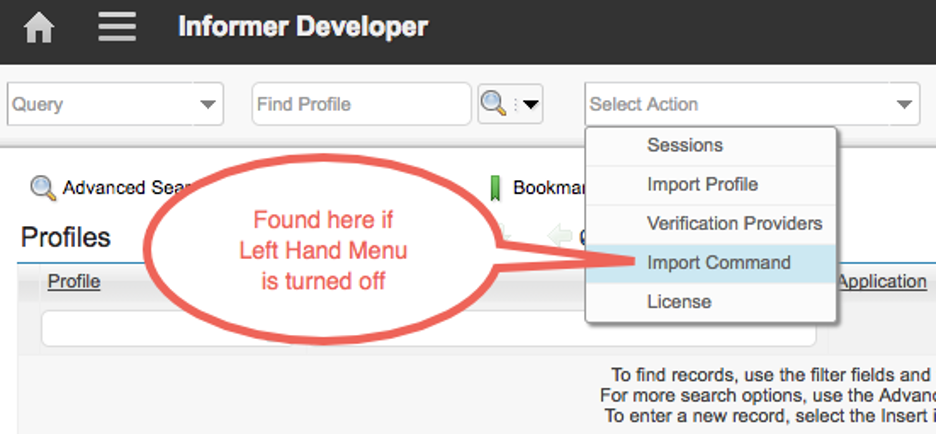
From the More Actions section of the left-hand navigation menu (or the Select Action menu if left-hand navigation has been turned off), select
Import Command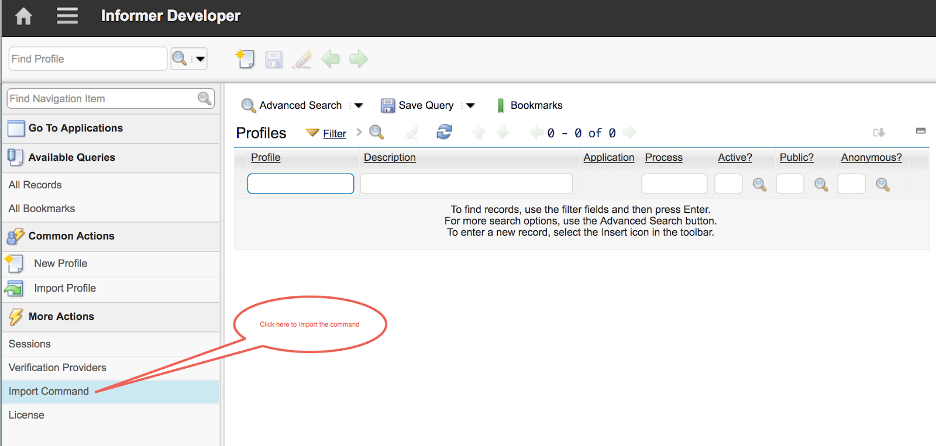
OR
-
Use the
Choose Filebutton to supply the provided command jar file and clickOK
Import Profile
-
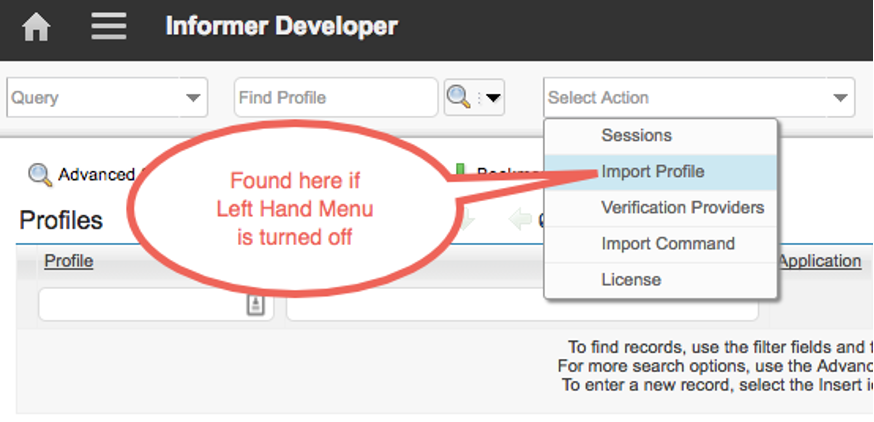
Now, from the
Common Actionssection of the left-hand navigation menu (or theSelect Actionmenu if left-hand navigation has been turned off), selectImport Profile
OR
-
Use the
Choose Filebutton to supply the provided Profile export and clickOK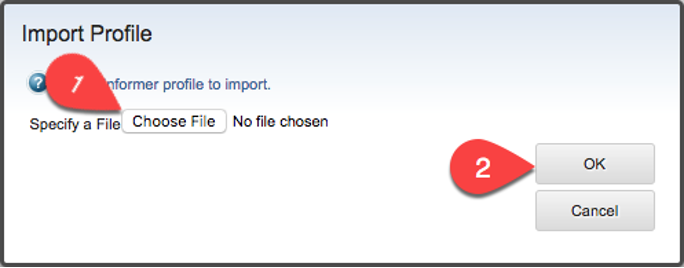
(Optional) Import app config resource json file
-
Once your profile is installed and active, navigate to the profile in Informer Developer.
-
Select
Resourcesfrom the Select Action menu. -
Optionally, if there is an existing app config that you mean to replace, delete the existing file via the trash can icon.
-
Click the
Add Resourcebutton. -
Using the file picker, select the app config json file.
-
Click
OKto close the dialog. -
App Config is now installed.
|
Note
|
Updated application config files can be applied as above at a later point, even once the Profile is already imported and active. |
Initialize the Catalogs
-
From
Informer Developer, pressEnter. This will display the list of profiles that have been imported.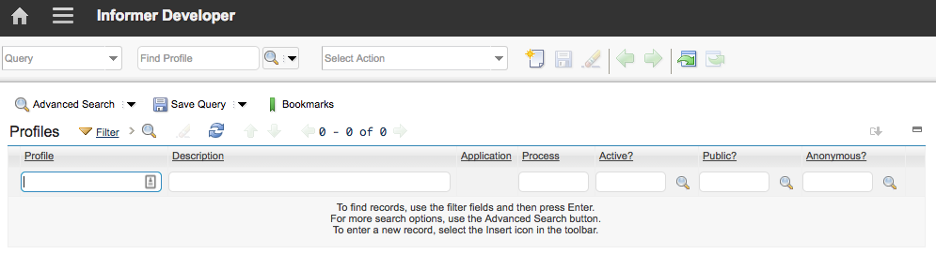
-
Click on the profile that was just imported (INFORMER311 in the example below—Also, note that the check boxes under
Active?,Public?, andAnonymous?Will NOT be checked at this time)
-
Navigate to the
Catalogstab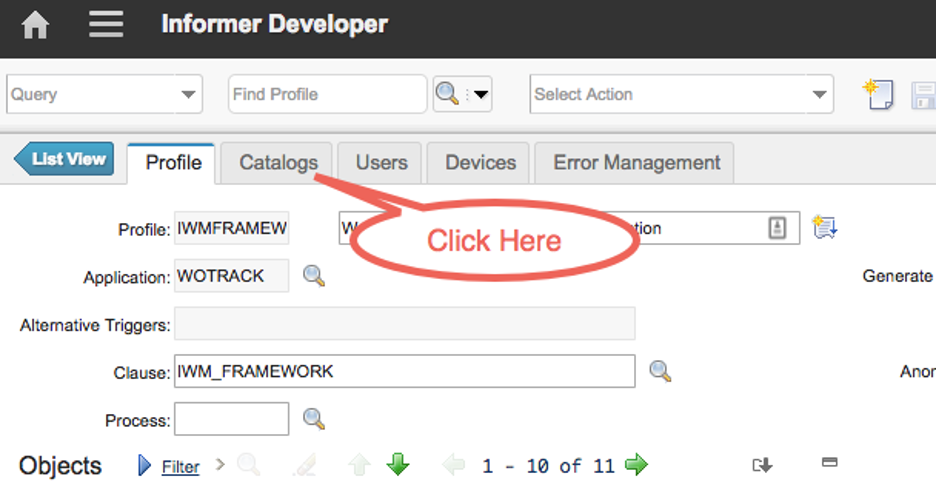
-
Click on the
Select Allcheckbox on the left and above the list of catalogs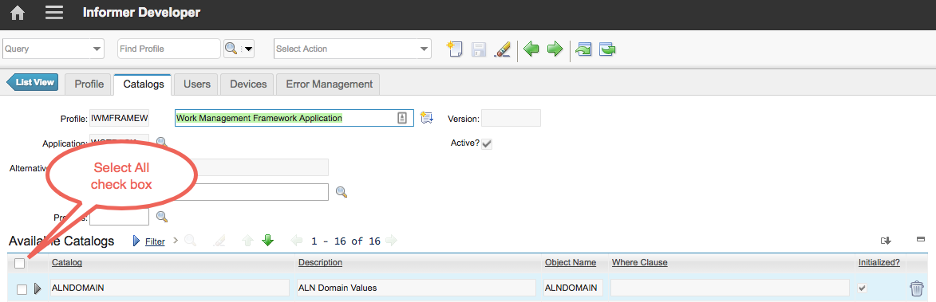
-
Click on the
Initializebutton under the list of catalogs
|
Note
|
This will not result in immediate changes to this screen, rather, the catalogs will be added to a processing queue and Maximo will process the catalogs from that queue.Also, please especially note that clicking the Initialize button kicks off a process that does not stop easily and multiple clicks of the Initialize button will only add more work to the queue. |
Monitoring Initialization progress
|
Important
|
Catalog init can take anywhere from several minutes to several hours, depending on the size of your dataset. |
Because this process can take a very long time, we suggest monitoring every so often but be prepared for it to take quite some time to complete. To monitor the Initialization progress, there are two basic methods:
-
One can simply periodically click the
Refreshbutton below the list of catalogs.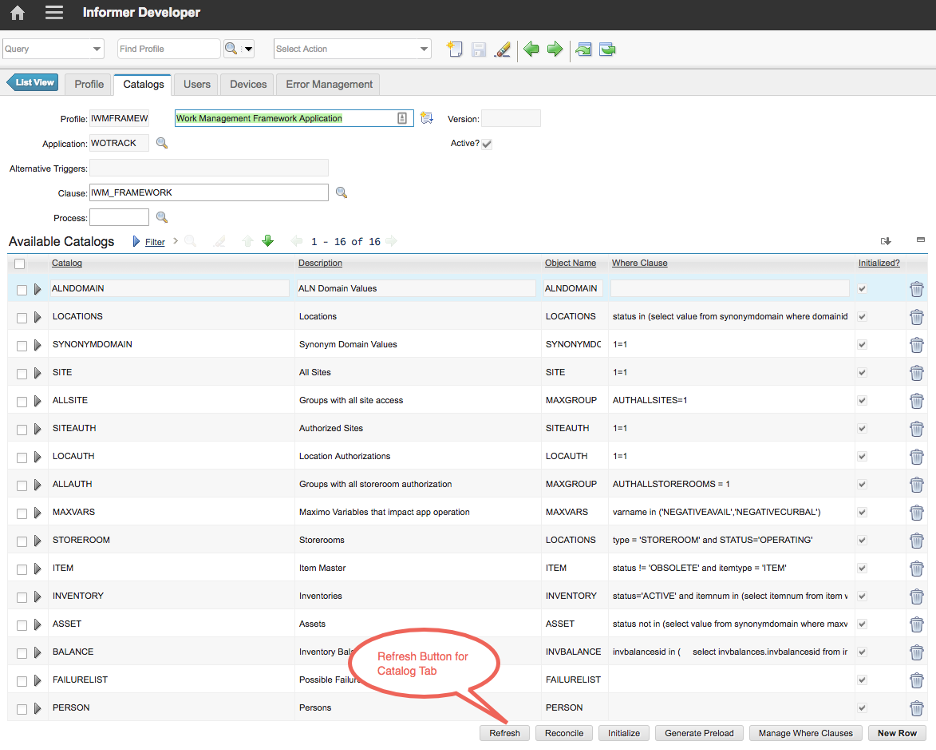
-
As catalogs initialize, the
Initialized?box on the right will become checked.
-
Alternatively, Select
Monitorfrom theMore Actionssection (orSelect Actionmenu) and then navigate to theCatalog Queuetab. From this tab, periodically click theRefreshbutton and watch as the number in theTotalfield first increases and then decreases. Once this number returns to zero, the catalogs are initialized.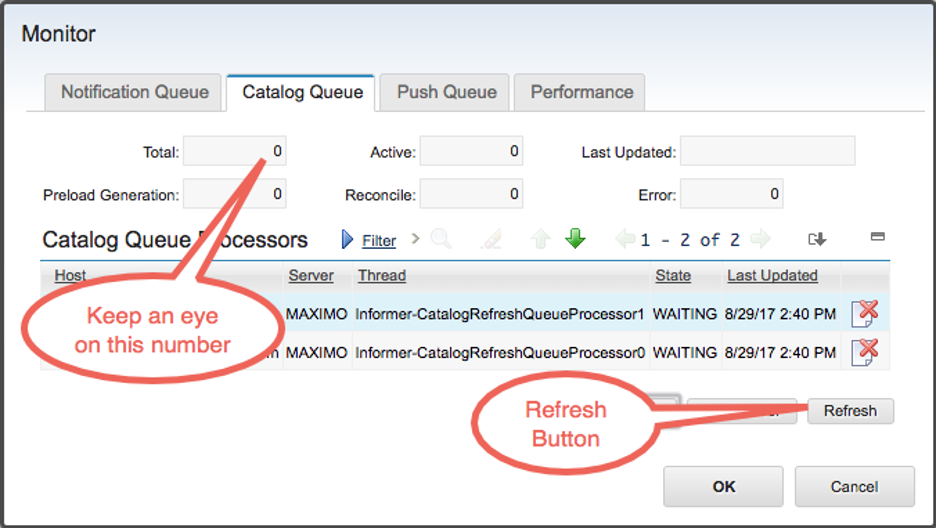
|
Warning
|
If you wind up with any jobs in error state, these errors will show up in the logs. Contact your Interloc customer service representative if you need help diagnosing the issue. |
Activate the Profile
-
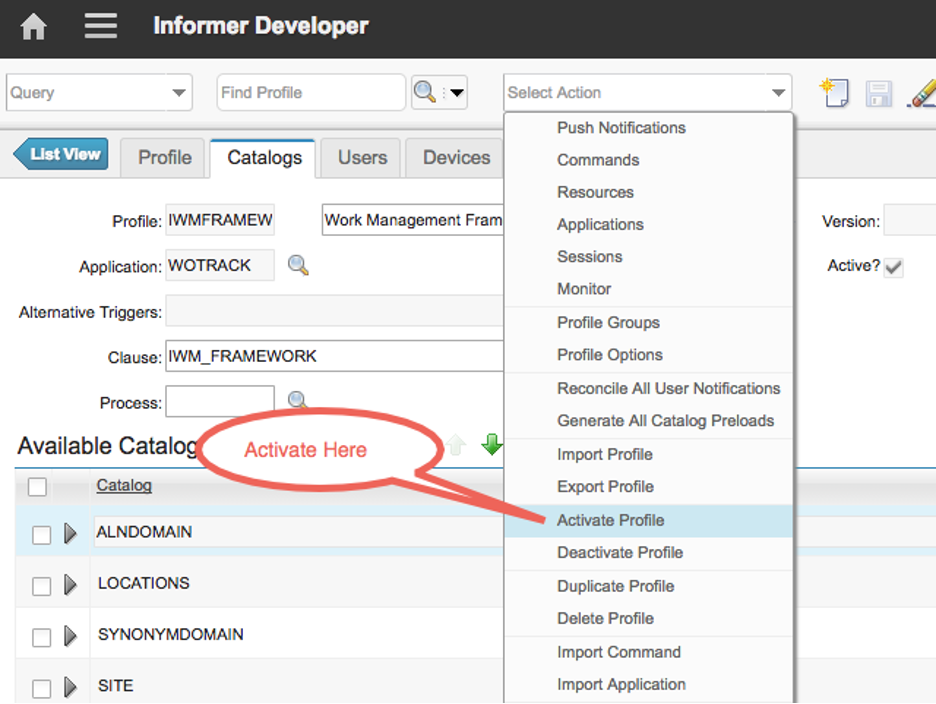
Once the catalogs are initialized, the profile can be activated from the
More Actionssection in the Left-hand menu(Or theSelect Actionmenu) by selectingActivate Profile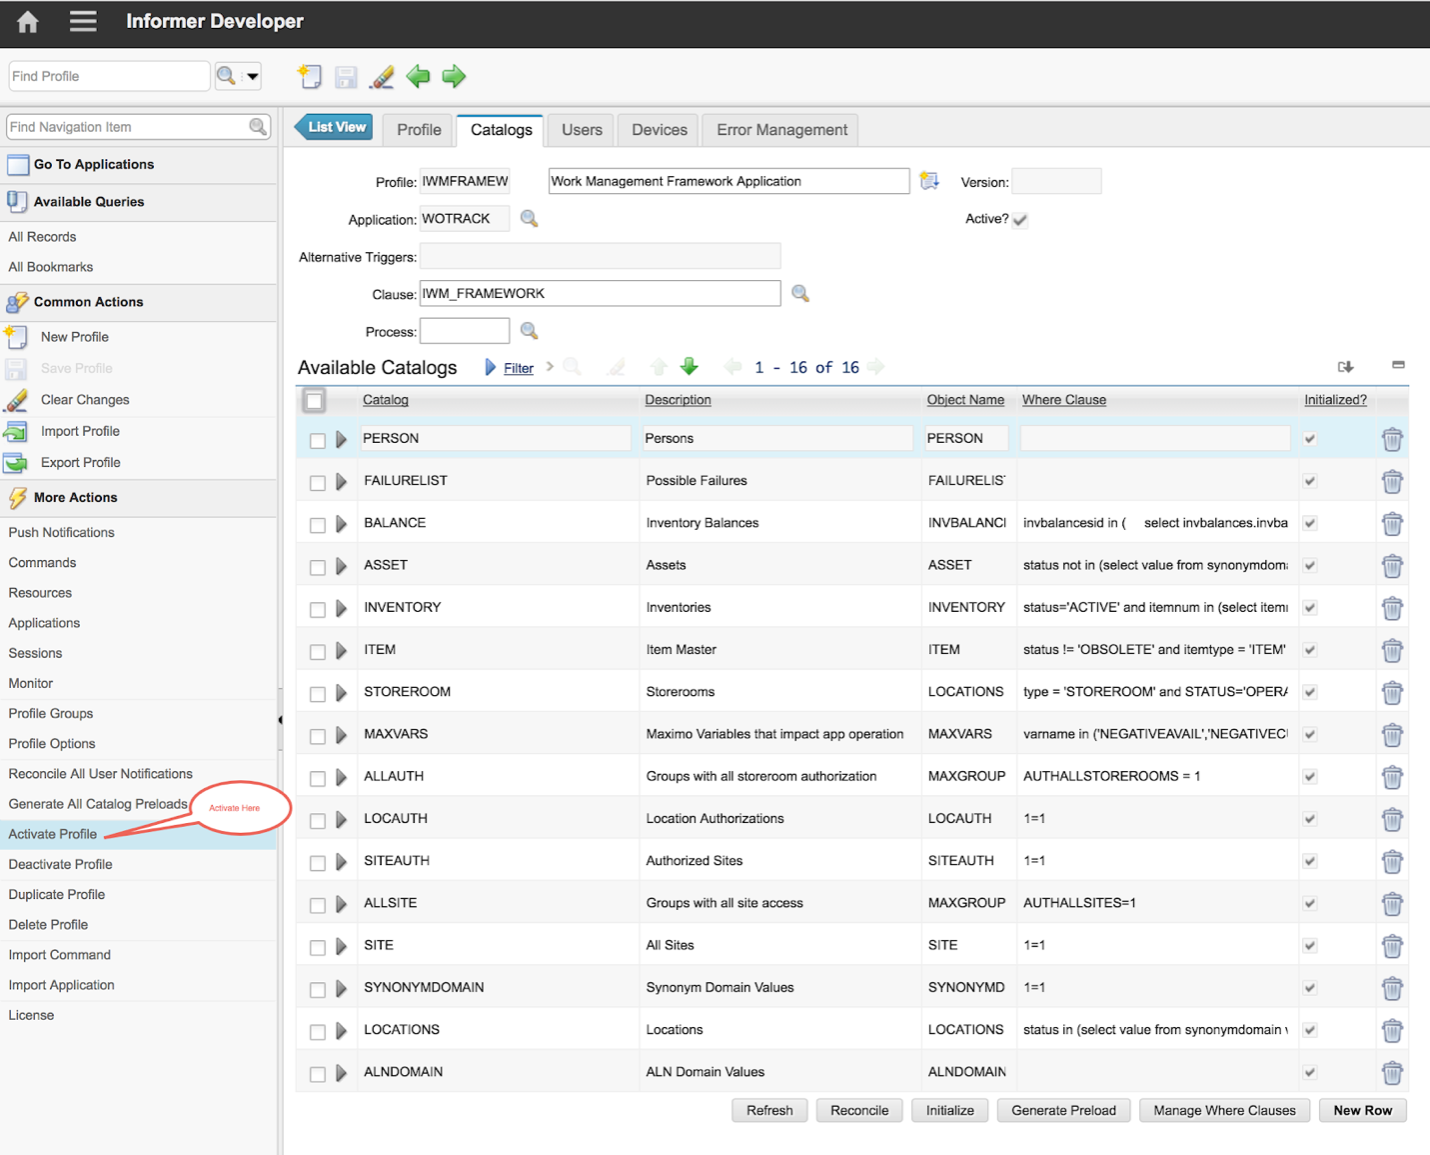
OR
-
Once the profile is active, its
Active?box will be checked in the profile list.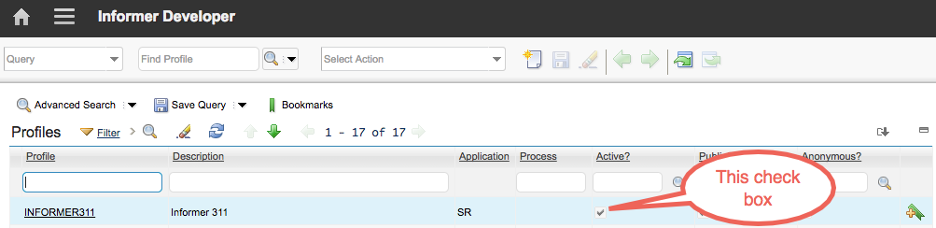
Add Users
If the profile requires users, they will need to be added at this point.To do this:
-
Navigate to
Informer Developerby going toAdministration > Informer
-
Press
Enterto list the available profiles andclick on the linkfor the profile that needs users to be added.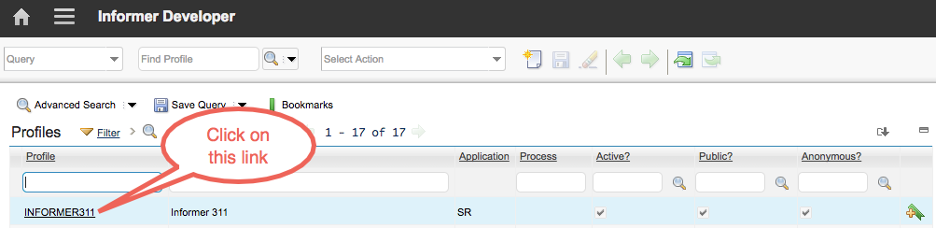
-
Go to the
Userstab in the profile.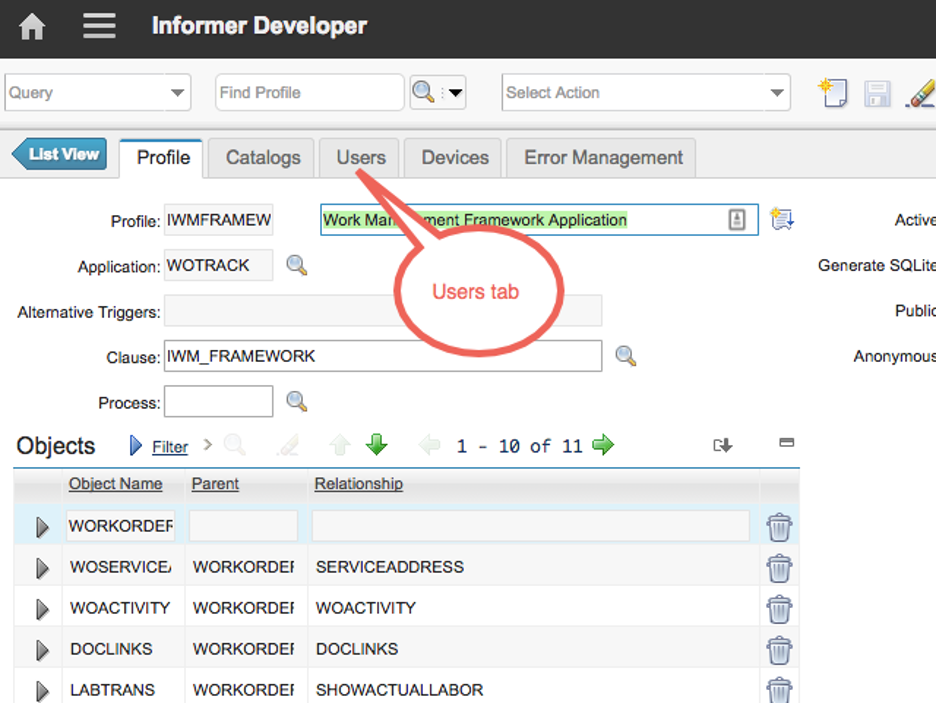
-
Click on the
New Rowbutton under theUserslist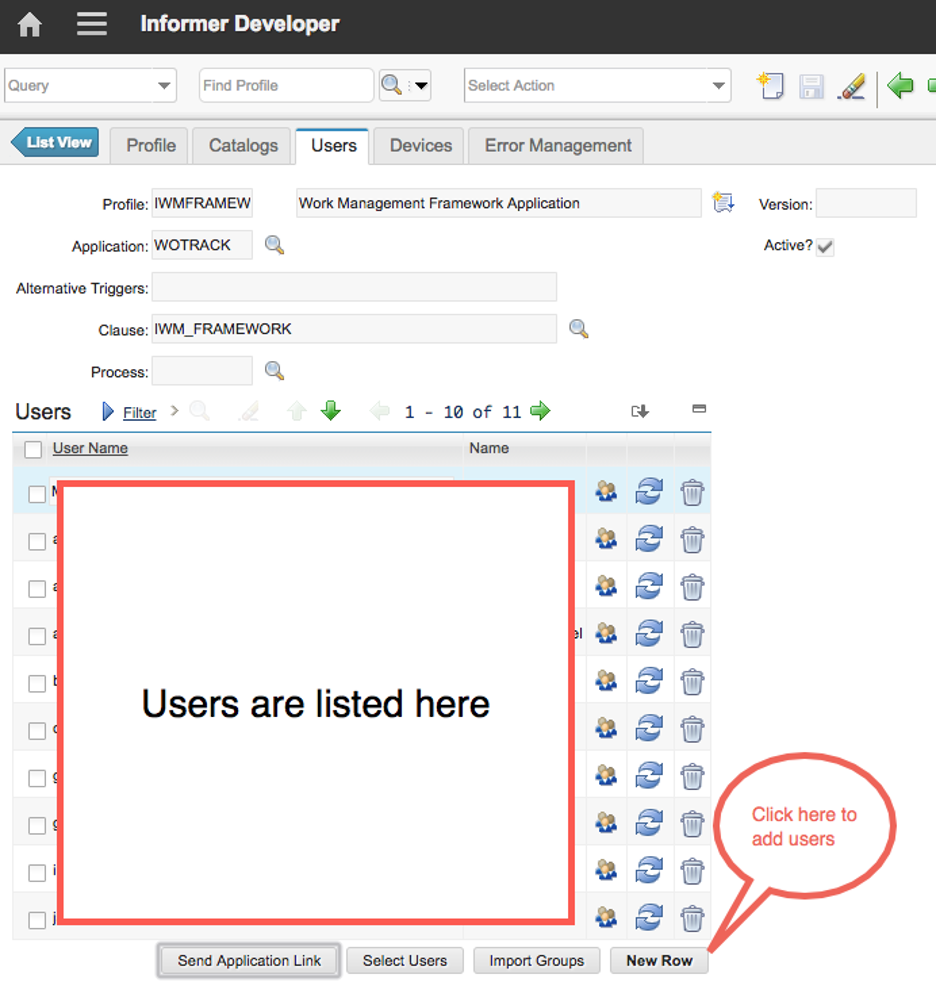
-
Type the Username of the person to be added and then hit
Tab. The User’s name should auto-populate into the next field and be added to the list above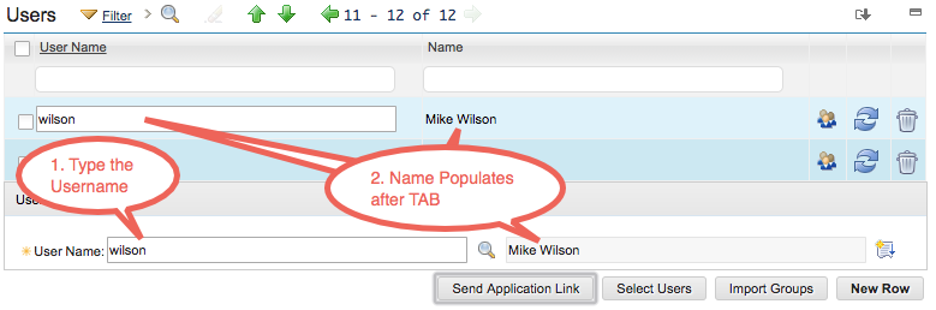
-
Note that multiple users can be added to the profile at this time by clicking the
New Rowbutton again and typing another username. -
Click the
SaveIcon to save the record(s)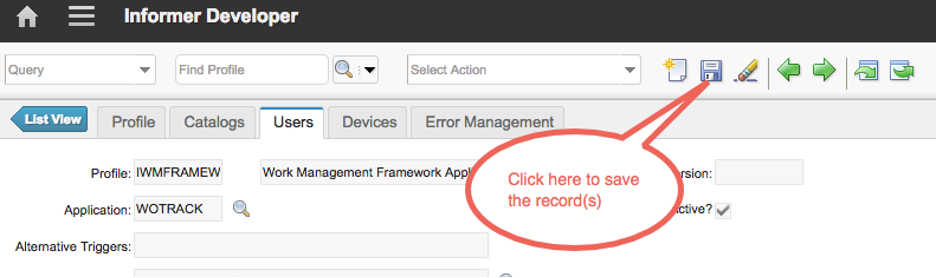
|
Note
|
Users can be added or removed at any time, before or after Profile initialization |